

This article shares the importance of using a Pressure relief valve, ways to change or adjust water pressure in a factory set PRV and fix the problems you may face while using this valve in an irrigation system.
A pressure relief valve is a safety valve that is designed to open at a predetermined pressure and protect all components of a pressurized agricultural irrigation system from excess pressure by releasing or relieving water from the piping system whether it is a drip, micro sprinkler, medium and high flow sprinkler irrigation systems.
A Pressure Relief valve protects the pump or piping from any blockages in the line. Blockages could be caused by an accidental closing of a shut-off valve.
Hence, using a good quality Pressure Relief Valve is important as it will quickly sense the excess pressure goes beyond the desired level of pressure and immediate relief by discharging water and protect the agricultural piping system.
Pressure relief valves should be installed in a vertical and upright position. They should be installed as close to the header assembly being protected as possible with a minimum of intervening piping or fittings between the valve. The inlet connection from the pipeline to the pressure relief valve should provide a direct and unobstructed flow passage such that the minimum cross-sectional area is at least that of the inlet opening of the pressure relief valve.
The outlet piping should also be as short as possible, and should never be smaller than the outlet size of the valve. The minimum pressure class or schedule for the anticipated service should be used. Do not connect long runs of piping to the discharge side of a pressure relief valve without consideration of piping and fluid impulse loading that could compromise valve performance.
Read: All you need to know about Air Valves
Essential Steps to Set Pressure Reducing Valve
If to increase/decrease the pressure setting of your pressure relief valve, first check and confirm that the irrigation system components like pipelines, hydro cyclone, Screen/Disc filters, media filter, and valves pressure rating, now to increase/decrease pressure setting of the pressure relief valve, you should turn the screw clockwise? or is it anti-clockwise? Watch the below steps and learn exactly how to adjust a Pressure Reducing Valve.
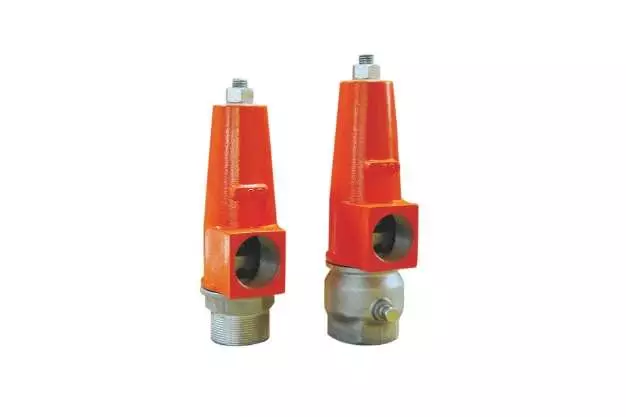
Step 1: Notice the Pressure Adjustment Screw & Lock Nut
If a relief valve is not installed and the pressure inside the pressurized irrigation system goes higher than the capacity/maximum allowable working pressure (MAWP) or Pressure Rating of pipelines and their components, then there will be severe system failures. You may see a set-screw secured by a lock-nut on the top of the PRV valve that will permit the water pressure regulator to be adjusted to set the water pressure up or down in the irrigation system.
Step 2: Loosen the Lock Nut & Turn the Pressure Adjustment Screw
-
- Turn the screw clockwise to increase the factory pressure setting of the PRV valve and check the valve output pressure with the help of a pressure gauge.
- Turn the screw anti-clockwise to decrease the factory pressure setting from the valve and check valve output pressure with the help of a pressure gauge.
Remember: Don’t overdo it. Just a turn or two should make a difference. Keep track of the number of turns so that you can go back to where you started, field pressure setting of the pressure relief valve should always be lower than 20 – 30% of the pressure rating of pipelines or any expensive component installed in the piping system.
What if there is a leakage in PRV
Sometimes you might encounter a variation in the performance of the valve itself. This may be due to leakage in the pressure relief valve or dirt in between the sealing area. If the water pressure in the pipeline is equal to or slightly more than the PRV factory set pressure, leakage is more likely to happen. You can increase/decrease the factory set water pressure yourself by following the below procedures